Making High Quality Recordings with the Indie Music Podcast
I am Doug Reynolds, a mastering engineer out of Bloomington, IL. With me is Matt Denton, a mixing and mastering engineer out of the Bay Area. We have a show called the Indie Music Podcast and we’re here to discuss making high quality recordings.
We’ve recorded this article in our podcast format so you can also listen and enjoy this post (also see player at end of article). We will provide timestamps along the way so that you can refer to sections in the audio file for more information. This article is geared toward the home and project studio and for those of you who are interested in podcasting and voiceover recording. However, the ideas and principles we will discuss can be applied to all types of recording applications.
What we’ll be covering in this article: recording environment and ideas that you can use to improve your recording space to help get that pristine voiceover or studio quality podcast recording. We will discuss soundproofing and acoustic treatments to help you better understand what considerations you may run into when setting up your own recording space. We will get into various microphones, polar patterns, and accessory hardware to help in your mic setup, as well as how to use the microphone for getting good takes the first time.
Matt and I will also discuss two basic headphone types along with options as well as an overview of audio bleed concerns. How you actually get your recording into your computer is discussed as we cover recording hardware interfaces and various types of preamps. Additionally, we talk about hardware audio processing devices, such as equalizers, compressors, spacial and time processors. And finally, we have a brief discussion about digital recording and Digital Audio Workstations (DAW).
Listen to this article using the player at the bottom (time stamps for each section are listed under headings for each topic).
Recording Environment
Audio 01:14
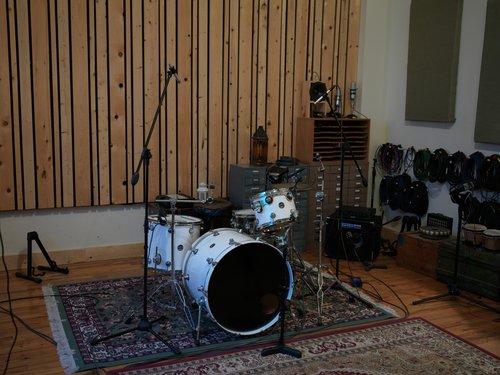
Let’s first discuss the recording environment. Your recording space is key to the quality of your recording. Rest assured, that no matter what space you’re working with, you can do very well by implementing some of the following tips.
While we all would probably love to have a high-end studio at our disposal, you can absolutely build out something usable in your apartment or in your home and have a very good recording environment to work in. With just some simple knowledge and attention to details about audio and a little bit of creativity, you can create a space where you can produce professional level recordings.
For example, it is not uncommon for somebody to use a closet to record vocals in, because it has so much of a natural soundproofing and absorption when fully stocked with clothing, coats, and bedding. Closets are a common starting place for a ‘homebrew’ vocal booth.
Sound Proofing
Audio 03:51
One of the most important parts of recording at home or home studio is controlling your noise floor. Essentially, your noise floor is how loud the ambient noise level is in your recording space. Ambient noise level includes internal sources like your HVAC system or your refrigerator, and external
sources such as cars or or neighbors making noise. Any sound that’s coming in from the outside and being created from within your space will be picked up by a high-quality recording microphone.
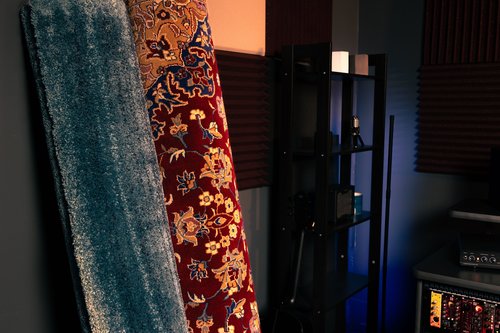
Controlling your noise floor is important, and there’s a couple different areas of concern. One is acoustic treatment, which we’ll discuss next. but what we want to talk about first is soundproofing. Soundproofing is different from acoustic treatment. Soundproofing keeps sound from coming into or going out of your space. Some lower-tech soundproofing includes double-paned windows, installing sound-absorbing curtains, or hanging moving blankets. Having well-insulated walls, ceilings, and potentially floors definitely helps, but may be beyond your immediate control. Sometimes you may simply be restricted to recording at certain times a day if you don’t have a well-soundproofed space. Windows are really important to consider, particularly if it’s an older dwelling and you have single-paned windows, as those will tend to act like a diaphragm of a speaker, vibrating and transferring sound. Having double-paned glass, such as thermal windows, does a very good job of helping with soundproofing. Windows, no matter whether single or double pane, still are reflective surfaces, so on any of those openings, including doors, it is a good idea to apply some additional treatment, in the form of acoustic insulation.
There’s a whole lot that goes into proper soundproofing, and rather than looking into a complete remodel, you may want to explore the possibility of an isolation booth. While these booths can seem expensive, the cost of soundproofing can far exceed the cost of an isolation booth. If being dead quiet is important to you and the quality of the material that you’re recording, soundproofing is certainly something that you’re going to be considering.
Acoustic Treatment
Audio 09:01
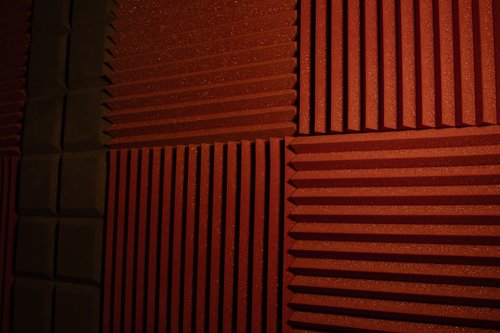
There are two basic goals of acoustic treatment, absorption and diffusion. Diffusion breaks up the sound and sends it in different directions so that it doesn’t make as many standing waves between room surfaces, whereas absorption captures ranges of audio frequencies. Diffusion is something you need to take into consideration in the context of the work you’re doing. For voiceover or podcasting, diffusion is not as important as absorption. Getting rid of reflections and quieting the room with absorption, in conjunction with sound proofing, is generally the goal for this type of recording scenario. If you are recording music, then using diffusion to ‘liven’ and tune the room is a very good option.
Microphones and Accessories
Audio 11:18
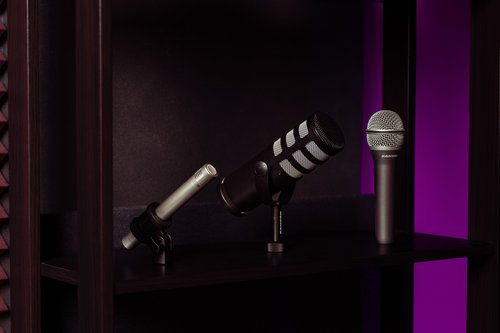
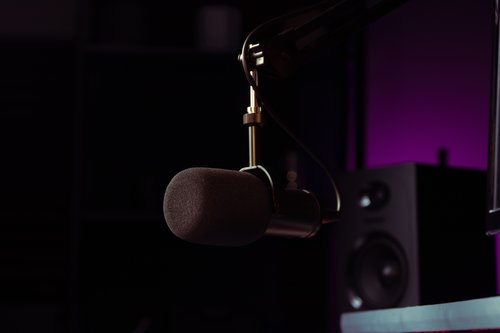
After all of your acoustic considerations, it really comes down to your microphone. There’s two main types, dynamic and condenser. Dynamic microphones, such as the Samson Q9U – XLR / USB Broadcast Dynamic Microphone, don’t require their own power source, whereas condenser microphones do. Condenser microphones, whether a USB type or connected to an external audio interface (a device that resides between your microphone and computer) will generally require what is called phantom power, which is a low voltage power provided to your microphone through the cable that is connecting it.
Microphones are designed with sensitivity areas called polar patterns. There are different patterns for different recording applications. The cardioid polar pattern is directional. It provides sensitivity toward the front of the microphone while rejecting audio from around the sides and back of the microphone. This type of pattern is desirable when recording and needs to minimize reflection coming into the rear of that microphone, as well as to reduce bleed from other audio sources that may be located to the sides of the microphone.
In cases where you wish to capture audio from both the front and rear of the microphone, for instance when recording in an interview format and have a guest with you in the studio, you can use a microphone with a figure eight or bidirectional polar pattern. In this case, the sides of the microphone provide rejection where the front and back are sensitive. You could also use a microphone with an omnidirectional polar pattern, which provides 360 degree sensitivity around the microphone with little to no rejection areas.
There’s also different levels of cardioid polar patterns. Supercardioid provides a tighter rejection pattern than cardioid. Hypercardioid is an even tighter pattern. There are shotgun microphones, which are very directional and have a great deal of rejection. These are normally a Lobar polar pattern, which is a very tight extension of super or hypercardioid patterns.
There are some important microphone accessories that you should be aware of as well. Shock mounts cradle a microphone and isolate it from the stand that it is placed in, for example, the Samson SP01 Spider Shockmount or SP03 Condenser Microphone Shockmount. This helps prevent what we call mechanical noise from being introduced into the microphone through the stand. This can happen when the stand is bumped or moved around, or when there are resonant vibrations from the floor or desk that would otherwise be transferred into the microphone.
A good mic stand is essential, such as the Samson MBA26 Microphone Boom Arm, or desktop and floor stands such as the MD5 and MK10. Broadcast arms position your microphone up and off the desk and allow you to articulate the microphone into the best position for you. Desk and floor stands vary in heights and base types. Some use heavy weighted bases while others use tripod legs. There are straight stands and boom arm stands so that you can position the microphone away from the stand riser. In all stand types, the purpose is to be able to position the microphone exactly where you want it on the recording source.
Pop filters and isolation shields can help a great deal to minimize undesirable noise from getting into the microphone. For example, check out the Samson PS01 pop filter and the RC10 reflections filter (isolation shield). A pop filter is a screen that sits in front of the microphone and helps prevent what is called plosives. These are hard “P” sounds. They can also help control hard “T” sounds and breath noise. The main principle of a pop filter is that it breaks up the direct airflow to the microphone’s diaphragm. An isolation shield is a shield with acoustic foam that provides a semicircle of acoustic absorption around your microphone. These help with rejecting reflections in the room by absorbing them before they reach the microphone.
Microphone Technique
Audio 17:50
Microphone technique, in combination with accessories like pop filters, can be incredibly useful for capturing great tracks. With a pop filter in place, you can leverage what is called proximity effect. This is an inherent quality of microphones where, when you get closer to the mic, the deeper frequencies become more apparent. For example, your spoken word may become deeper. However, the chance of introducing plosives and mouth noises increase the closer you are to the mic. By using a pop filter you can minimize those undesirable noises while being able to take advantage of the proximity effect.
Mouth noises occur naturally when speaking or singing. These may be clicks and lip smacks. You can drink water prior to your performance to help. You can also use techniques like off-axis positioning of the mic so that you are not speaking or singing into it directly. This will help prevent the little sounds and puffs of air from going directly into the diaphragm. The off-axis technique allows you to get closer to the microphone and take advantage of the proximity effect, while minimizing other incidental noises you may produce from being recorded.
Microphone height is important because it can help get your chin up a little bit, this allows you to better project and breathe, especially when singing. Try placing the sheet music, script, or lyric sheets up high so you are looking up slightly to read. You’ll find you have better airflow than if you tuck your chin down tight looking down at your script.
If you frequently speak or sing while gesturing with your hands, then it becomes a lot more likely that you will hit the microphone or stand during your recording take. Don’t grab or touch the microphone in a recording situation, unlike when singing live where it is often necessary. This is where having a really nice shockmount to isolate your microphone from your stand is a really good idea, because when you do have those accidents the mount can save the recording.
Headphones
Audio 22:26
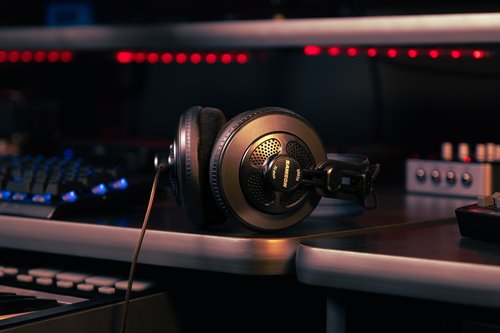
Headphones are a critical piece of gear. You’re going to spend a lot of time using headphones if you’re doing much recording or post-production editing work. We need to be able to monitor ourselves and hear other artists recording their parts. The last thing you want, though, is the monitored track coming through your microphone. When that happens it is called bleed or crosstalk and we need to isolate that. A really good pair of headphones is important for this, have a look at Samson SR Series headphone selections.
Closed back headphones are the most appropriate type of headphone for ensuring isolation and preventing bleed. Open back headphones allow sound to enter and exit the ear cup. They’re not as isolated, whereas closed backs can really help keep bleeding out since they provide a closed ear cup. Just know that a good microphone is sensitive enough to be able to pick up the audio that’s coming from headphones if they are not properly fit to the artist’s head or they are using open back headphones.
One final note on headphones, they need to be comfortable. If you are wearing headphones for any length of time, they need to be comfortable enough to not create pressure points or pinch your head and give you headaches. Make sure to take breaks, as headphones can make your ears sweat and cause some discomfort. Having an earcup material that you find comfortable will make your experience much better.
Recording Hardware
Audio 26:19
We’ve discussed microphones, but now let’s look at how to actually record. How do we connect a microphone and record audio? Digital recording is probably the most prevalent way that audio is captured. Certainly, analog recording and recording to tape is still a popular and important method, but most people are recording digitally, and in order to do that you need some recording hardware to help you connect your microphone to your computer.
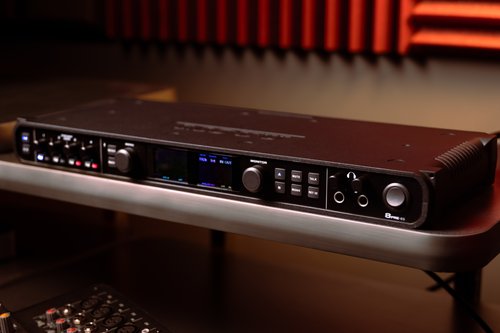
An audio interface is a device which takes the analog signal from your microphone and converts it to digital, delivering it to your computer. The connection to your computer can be through various connection formats, which include USB, Thunderbolt, and PCIe, which are considered standard connection types. Generally, an audio interface will have microphone preamps built in. Those preamplifiers allow you to manage the gain of your recording signal. In any connection type, you’re going to need to do an analog to digital conversion, and that is one of the main functions of an audio interface. During playback, an audio interface converts a digital signal back into an analog signal so that you can then hear it play back on your speakers or in your headphones.
There are dedicated analog to digital (AD) converters, as well as dedicated digital to analog converters (DA), and also combination DA/AD converters which provide bi-directional conversion. These converters are normally of much higher quality conversion than that of many interfaces and most certainly better conversion than that of your computer’s direct inputs and outputs. Their job is only to provide conversion and these types of devices do not provide microphone preamps.
There are also dedicated microphone preamps. These are designed to accept an analog signal from an analog microphone and amplify that signal from mic level to line level and allow you to control the overall amplitude of the signal gain. These preamps are not doing any conversion – they are only providing the amplification to boost the signal.
In-line microphone preamplifiers are an optional device placed between your (usually dynamic) microphone and other devices where you are routing the signal. You may, for example, run an in-line microphone preamplifier before going into the preamplifier on your audio interface. This is an effective way to manage your gain structure and to help reduce noise produced from lower-end interface preamps. In these cases, you can keep the gain at a minimum on the interface preamplifier while still obtaining a strong gain signal from the in-line preamplifier.
Hardware/Plugin Audio Processors and Effects
Audio 34:00
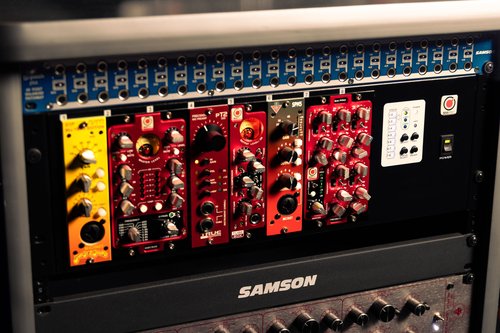
Effects processors affect the signal in various ways and allow you to create a processing chain of effects. This can be accomplished both digitally and with analog device hardware.
Equalizers are probably the first thing most people are familiar with. We’ve all adjusted the tone on our stereo, and maybe you’ve even had a chance to use a graphical EQ where you can cut or boost a series of frequencies with sliders. This is often related to creating EQ shapes, such as the classic “smile” where the bass and highs are boosted and the mids are cut. Equalizers are basically selective volume controls for different frequency bands of an audio signal. There are different styles of equalizers. As mentioned, there are not only graphic equalizers, but also parametric equalizers which allow you to not only control the cut and boost of frequencies, but do so on a range of frequencies (the “Q”). They normally have three parameters: the frequency band to cut or boost, the amount of gain to cut or boost from the chosen frequency band, and the width of the frequency band to be cut or boosted. Sometimes there are parametric equalizers that don’t actually have a Q control on them – the Q is actually controlled dynamically with the amount of gain you are applying or cutting from a certain frequency. Whether analog or digital equalization, the ideas are the same, we’re balancing signals, balancing frequencies, taming harsh frequencies, boosting or cutting in order to achieve an overall sonic balance of the material that is intended and desirable.
Compressors, in the most simplified explanation, affect dynamics. Compressors take the loudest things, and the softest things, and squeeze them together so that the overall amplitude difference is less. This allows you to turn up the gain to make the overall audio louder, because the previously loudest parts have been compressed, giving you more headroom. There is a technique called brickwalling which involves massively compressing audio and then adjusting the gain to its maximum before clipping. This is a popular technique for achieving extremely loud mixes. The type of compressor used for these purposes is normally a limiting compressor or limiter. When we’re not using compressors as limiters, we can use them in a more delicate way where they provide a really wonderful quality of fullness or body to the audio. Compressors, like equalizers, have parameters you can set. The attack parameter is something that you can use to configure how fast a dynamic gets cut off. How much of that dynamic is going to get compressed is called the ratio, how long the compression will stay engaged is called the release, and at what level you’re going to compress the dynamic level is called the threshold. You might apply compression to a snare hit or a drum crack, or it could be anything that’s really dynamic and happens fast.
A noise gate is a device that can help us with excessive noise floor or noisy signal, such as a distorted guitar amp. A noise gate is interesting in that you can set a threshold and control at what level it opens up and allows signal through. This has the effect of blocking the signal until it becomes louder than a configured threshold, at which time it will allow the signal through. A noise gate is much like a compressor in that it has the same type of controls: threshold, ratio, attack, and release.
Reverb is probably the most widely known spacial effect. Reverb affects an audio signal to give the illusion of room size, from a small room all the way up to a concert hall. It emulates the delay and decay of a signal as it reflects certain room characteristics.
Delay is a time effect which produces the repeating of a signal which can be controlled for how long the delay takes to repeat, the number of times it repeats, the decay of the repeats, and in some cases, the blend of the delay with the original signal.
Recording Software
Audio 49:27
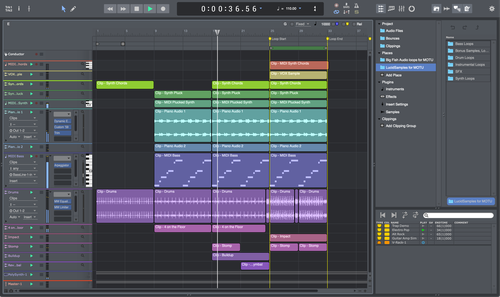
Digital Audio Workstations or DAW, are audio production software that allow you to record onto your computer. There are great free DAWs, as well as low, moderately priced, and expensive DAWs. Some DAWs are specialized for specific production tasks, such as mastering. Learning to use a DAW can be a bit daunting, but most have a free trial that you can use to learn with or evaluate. It is important to look at the available documentation and community that is built around any DAW. With that being said, it is not difficult to get up and running with a DAW on your computer. Most are a standard download and installation. Most DAWs will work with all popular interfaces, and with a bit of configuration, you will be able to record into your computer with a minimum amount of effort. Often, audio interfaces come bundled with DAW software. These are usually a light or limited version but are a great way to get up and running.
A DAW is somewhat like a digital mixer, providing channels, faders, effects chains, and routing options as you might find on an analog mixer. Some DAWs are designed for looping and so depart from your conventional mixer type of interface. Others are designed as mixing interfaces.
Summary
We’ve covered a lot and most of this has been discussed from a high level. We talked about recording environments and ideas you can use to improve your recording space; soundproofing and acoustic treatments, types of microphones and their polar patterns, microphone accessory hardware, microphone techniques, monitoring yourself and others with headphones, an overview of recording into your computer, recording hardware interfaces and various types of preamps, we also talked about hardware audio processing devices, such as equalizers, compressors, spacial and time processors. Finally, we had a brief discussion about digital recording and Digital Audio Workstations (DAW).
If you have any questions on anything that we have talked about here or in the audio recording, certainly feel free to contact Matt and Doug on any of the Indie Music Podcast channels.
Cheers!