Hints For Home Recording: Mic Specs And What They Mean
When an artist or band records a demo, it has to sound its best. Getting really good home recordings can be tricky when your space and budget are limited – but it’s by no means impossible. “Hints For Home Recording” brings you bite-sized bits of information that can help you take your recordings to the next level.
In this article, we’re going to look at a typical microphone’s spec sheet and talk about what all these numbers mean. Along the way, we’ll teach you a bit about how mics work, why they sound like they do, and how to choose one for your needs.
Microphone type
The most obvious item on any mic’s spec sheet is what type of mic it is – in other words, what type of mechanism it uses to pick up variations in air pressure (sound waves) and turn them into electrical signals.
The vast majority of mics you’ll use in any recording situation will be one of the following three types:
- Dynamic (moving-coil): A dynamic mic is essentially a speaker working in reverse. It has a diaphragm attached to a movable wire coil that’s within the field of a permanent magnet. When sound waves hit the diaphragm, it moves back and forth, and the movement of the coil creates a varying electrical signal.
Dynamic mics are commonly used for applications like capturing broadcast voices (the Q9x Broadcast Dynamic Microphone is a standout here), guitar and bass amplifiers, snare and kick drum, and vocals (particularly in live situations). They can be strongly colored but are rugged and reliable. - Condenser: “Condenser” is an old British term for a capacitor, and that’s what a condenser mic element is: a capacitor. A moving diaphragm is suspended in front of a charged backplate with a tiny air gap between them. As sound waves make the diaphragm vibrate, the air gap changes size, changing the capacitance and creating an electrical signal. Condenser mics can be tuned to give signals a wide variety of tone colors. In recording studios, they are used for everything from vocals to acoustic guitar to winds to drum overheads.
- Ribbon: Ribbon mics use a moving element in a magnetic field to generate electrical signals, but rather than a diaphragm and coil, they have very thin ribbons. Ribbon mics have a rich, smooth ‘retro’ sound that is great on everything from horns and guitars to lead vocals. They can be very fragile and require careful handling.
Polar pattern
The spec sheet will list the microphone’s polar pattern (or polar pickup pattern): how sensitive it is to sounds coming from various directions around it. A mic’s polar pattern determines how directional it can be – in other words, how much outside sound it can “ignore” when you point it a certain way.
The most common polar patterns are:
- Omnidirectional (Omni): equal sensitivity in all directions
- Unidirectional (Cardioid): more sensitive in one direction, rejects sounds from other directions
- Bidirectional (Figure-8): sensitive in front and back, rejecting sounds from the side
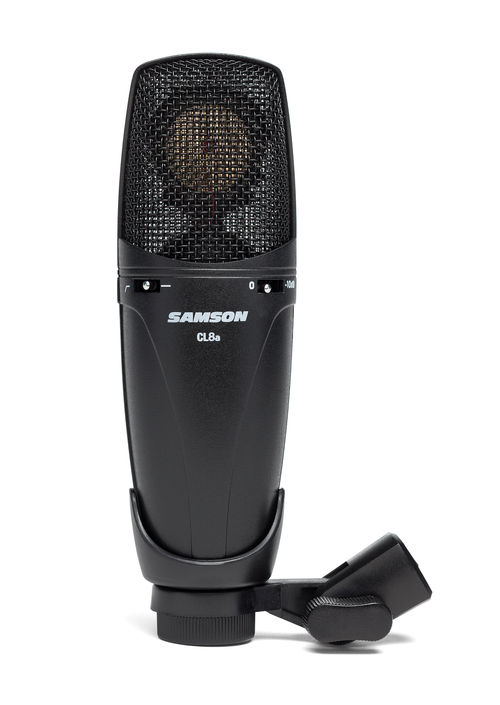
There are many variations on these patterns, such as subcardioid and hypercardioid. Some mics can change polar pattern via mechanical or electrical means, giving you multiple options from one mic. For example, while the CL7a Large-Diaphragm Condenser Microphone offers the most commonly used cardioid polar pattern, its sibling the CL8a offers all three of the patterns mentioned above for a much wider set of applications.
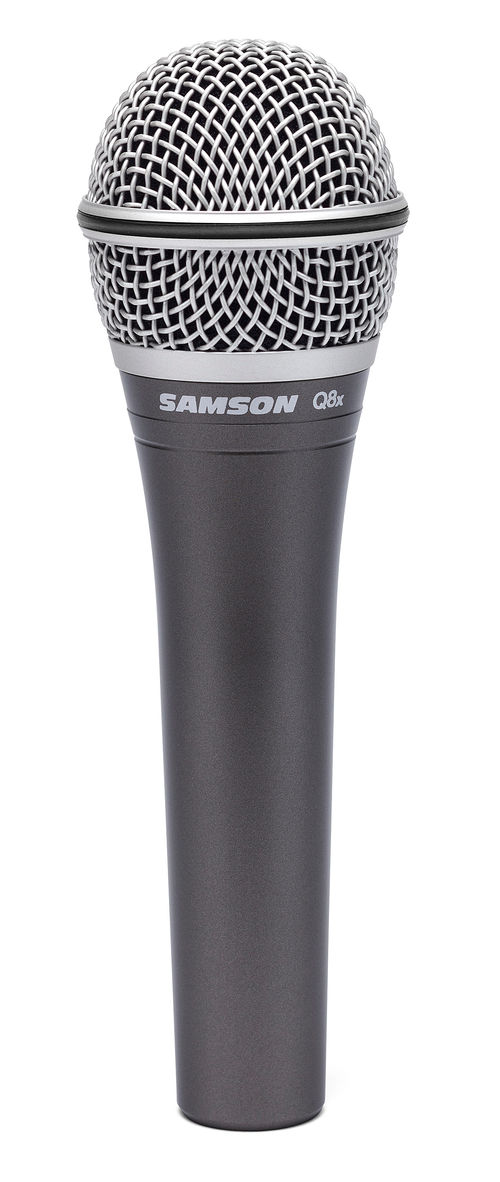
A good spec sheet won’t just say “cardioid” – it will provide a polar pattern diagram, showing how the polar pattern changes with frequency. Figure 1 shows the polar pattern vs. frequency for the Q8x Professional Dynamic Vocal Microphone.
Figure 1
The 0º position at the top of the graph represents incoming sounds coming straight at the mic’s diaphragm, while 180º indicates sounds coming from behind the mic.
While some mic spec sheets will show the polar pattern at one reference frequency (usually 1000 Hz), variations with frequency are common, having to do with the physics of how mic diaphragms respond to sound from different angles. In Figure 1, the consistency of the shape with frequency indicates that the Q8x will maintain good rejection of off-axis sounds between 250 and 8000 Hz without any unwanted changes at certain frequencies. (That’s a good thing.)
Frequency response
The frequency response of a mic indicates how sensitive it is to sound at different frequencies. While it’s possible to simply quote a number like “20 Hz to 20 kHz”, that number isn’t very useful without a graph showing how the frequency response varies over that range.
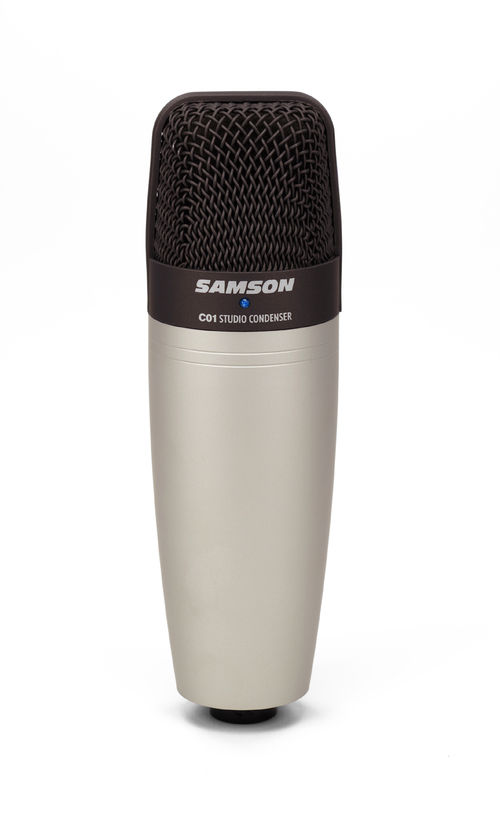
Figure 2 shows the frequency response of the C01 Cardioid Condenser Microphone, at 0º and 180º. These graphs demonstrate how the frequency response will differ on both sides of the mic in the studio, so you can compare what it picks up from the vocalist vs. what sounds are in the room.
Figure 2
Some mics will have a presence peak at high frequencies for sparkle; others may have a midrange bump to bring out the power in a vocal, or a heavy bass emphasis for instruments delivering a lot of low end. The balance between all of these factors gives a mic its unique sound.
Frequency response will vary with polar pattern; if a mic offers multiple choices, look for a frequency response graph for each one.
If a mic has a strong proximity effect (bass boost when the source is very close to the mic), an extra graph might illustrate that. Figure 3 shows such a graph for the Q8x.
Figure 3
Sensitivity
The sensitivity is how much signal the mic generates from a given amount of air pressure change. It’s usually measured in millivolts per Pascal of pressure change (mV/Pa) or in decibels per Pascal (dBV/Pa).
Mics with higher sensitivity will need less of a gain boost from a preamplifier to give you good hot signals into your interface or mixer. The Q9x has a relatively low –58 dBV/Pa sensitivity, common to dynamic broadcast microphones, whereas the C01 has a much higher sensitivity of –33 dBV/Pa.
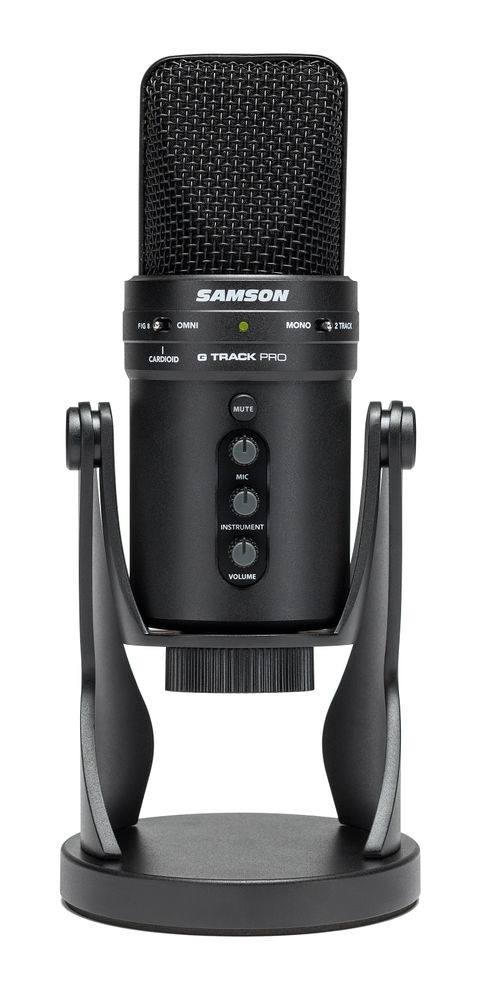
USB microphones have built-in preamplifiers, leading to much higher sensitivities since the gain is happening inside the mic itself. For example, the G-Track Pro has a whopping +6 dBFS/Pa sensitivity!
Maximum Input SPL
This number indicates the loudest sound pressure level (SPL) the mic can handle without distorting. It’s expressed in decibels (dB), and is sometimes referenced to a particular frequency and/or just how much total harmonic distortion is present at the given SPL.
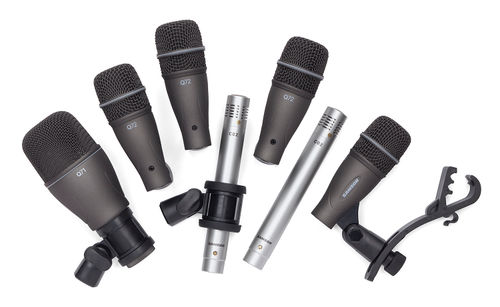
Some mics are purpose-built to take enormous sound pressure levels. The Q71 Kick Drum Microphone is rated at 147 dB SPL at 1000 Hz for a total harmonic distortion (THD) less than 0.5%. That’s really, really loud – compare it to the 120 DB max SPL of the G-Track Pro.
Under most circumstances, both dynamic and condenser mics can handle SPL in the range of 130 dB, which is plenty loud enough for nearly every music application. (If you’re trying to record a rocket launch, your results may vary.)
Contrary to what some folks may think, ribbon mics can handle high levels as well – what damages them are puffs of air that can stretch the ribbon out of shape. A guitar amp is loud, but a kick drum hit is loud and throws a massive shockwave!
Equivalent Input Noise (Self-Noise)
The equivalent input noise (EIN), equivalent noise level, or self-noise of a mic is how quiet its own circuitry is when there’s no audio signal coming in. This is expressed in dB, usually A-weighted dB (dBA) which is adjusted for the sensitivity of human hearing vs. frequency.
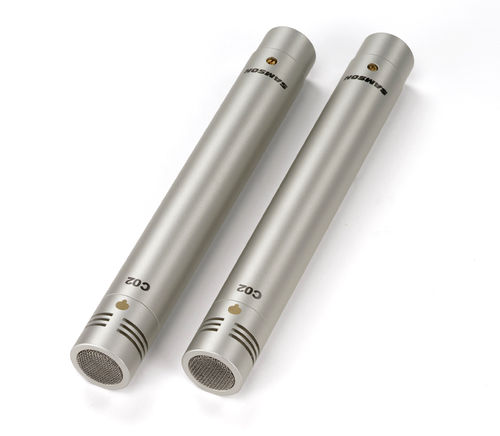
EIN is dependent on a lot of factors, including the mic type, polar pattern, diaphragm size, and more. The mic with the lowest self-noise isn’t necessarily the best! Some circuit designs are naturally a bit noisier, but their sound quality or specific application may make dealing with a little more noise worthwhile. One commonly seen effect on EIN is that of mic diaphragm size – the small-diaphragm C02 Pencil Condenser Mic has a 22 dBA self-noise, while the large-diaphragm CL8a has 17 dB self-noise.
Dynamic range
The dynamic range of the mic is simply the maximum input SPL minus the self-noise. This tells you the difference between the loudest and softest sounds the mic can capture without too much noise or distortion.
For the C02, the maximum SPL is 134 dB and the EIN is 22 dB, yielding a dynamic range of 112 dB.
Signal-to-Noise Ratio (S/N)
This is a measure of the ratio of signal level to noise level. Unlike the above specs, which are absolute numbers, the S/N figure gives you an idea of what to expect in terms of sound clarity for both loud and soft sounds. It’s expressed in dB as well.
Impedance and Minimum Load Impedance
Every electrical circuit has a characteristic impedance – how much it ‘fights back’ when you try to change the voltage at the input or you connect its output to another circuit. It’s expressed in ohms (Ω).
A mic’s impedance will have a strong effect on how it sounds through any given preamp, depending on how the mic’s output and preamp’s input impedances match up. Some mics will list the minimum load impedance to guide you on whether a certain preamp’s input impedance will work well with a mic. For example, the CL8a condenser mic has a 200 Ω impedance and a 1000 Ω minimum load impedance.
Maximum Output Voltage
This number is how much actual juice the mic can deliver when it’s at its loudest. This is strongly dependent on the mic type and electronics; a really hot condenser can deliver nearly line-level voltages, while the output of a passive ribbon may be very weak. It’s expressed in either millivolts or dB.
Power
This indicates whether the mic needs to be powered, and if so, how. Dynamic mics don’t need power, and some ribbons can be damaged if power is applied to them. While there are condenser mics that don’t require power, most use phantom power – a 48V signal offset provided by the mixer or interface and coming through the mic cable – to run their electronics. Tube microphones will have their own high-voltage power supplies.
Tolerances and references
One last note: as you learn to read spec sheets, it’s worth studying a bit to understand not only what the various specs are and what they mean, but also how much confidence you can put in the numbers on the sheet. Some specs will be listed with a tolerance to show how accurate they are (e.g. a level being accurate to ±1 dB).
Another thing to learn about is the use of references. For example, most frequency response graphs set “zero” to be whatever the response is at 1 kHz. Sensitivity measurements often use that frequency as well, and may specify an input impedance of 1 kΩ. Other specs may cite specific standards established by the audio industry, such as IEC/DIN 651 for self-noise.
This is really important with respect to any spec expressed in decibels. These are not absolute numbers: they are ratios. That means a certain number of dB has no meaning unless you know its reference level. Sometimes these are given on the sheet, for example a sensitivity will be referenced to a particular SPL. Other times, the reference level is implied by the unit being used: dBA, dBSPL, dBV, dBu, etc.
Spec’d out
Learning to make use of a spec sheet won’t happen overnight. As you get experience with various mics, you can look at their spec sheets and gradually you’ll develop a feel for what the numbers mean. Is a max SPL of 150 dBA a lot? What does 17 dB of self-noise sound like, really?
The most important thing to remember, however, is that you don’t listen to spec sheets. A spec sheet can warn you not to put phantom power on a ribbon mic, but it won’t tell you how that mic will sound on a trumpet. Spec sheets are guidelines to give you informed expectation of how a mic will sound… but they won’t tell you what that sound is. For that, you need to try the mic and judge for yourself.
Remember: if it sounds good, it is good!


